There’s something about the smell of coconut baking that instantly takes me back to lazy Sunday afternoons in my grandma’s kitchen. The warm, sweet aroma of toasted coconut mingling with vanilla has a way of making the house feel cozy and loved. This loaf cake, simple and honest, captures that nostalgic charm perfectly, like a little piece of childhood wrapped in golden crust.
Baking this cake feels like a small act of memory-making. It’s not fancy, but there’s a quiet joy in mixing flour and coconut, watching it rise, and sharing that first slice with someone you care about. It’s a reminder that sometimes, the most comforting treats are the ones rooted in tradition and a little bit of messy, honest baking.
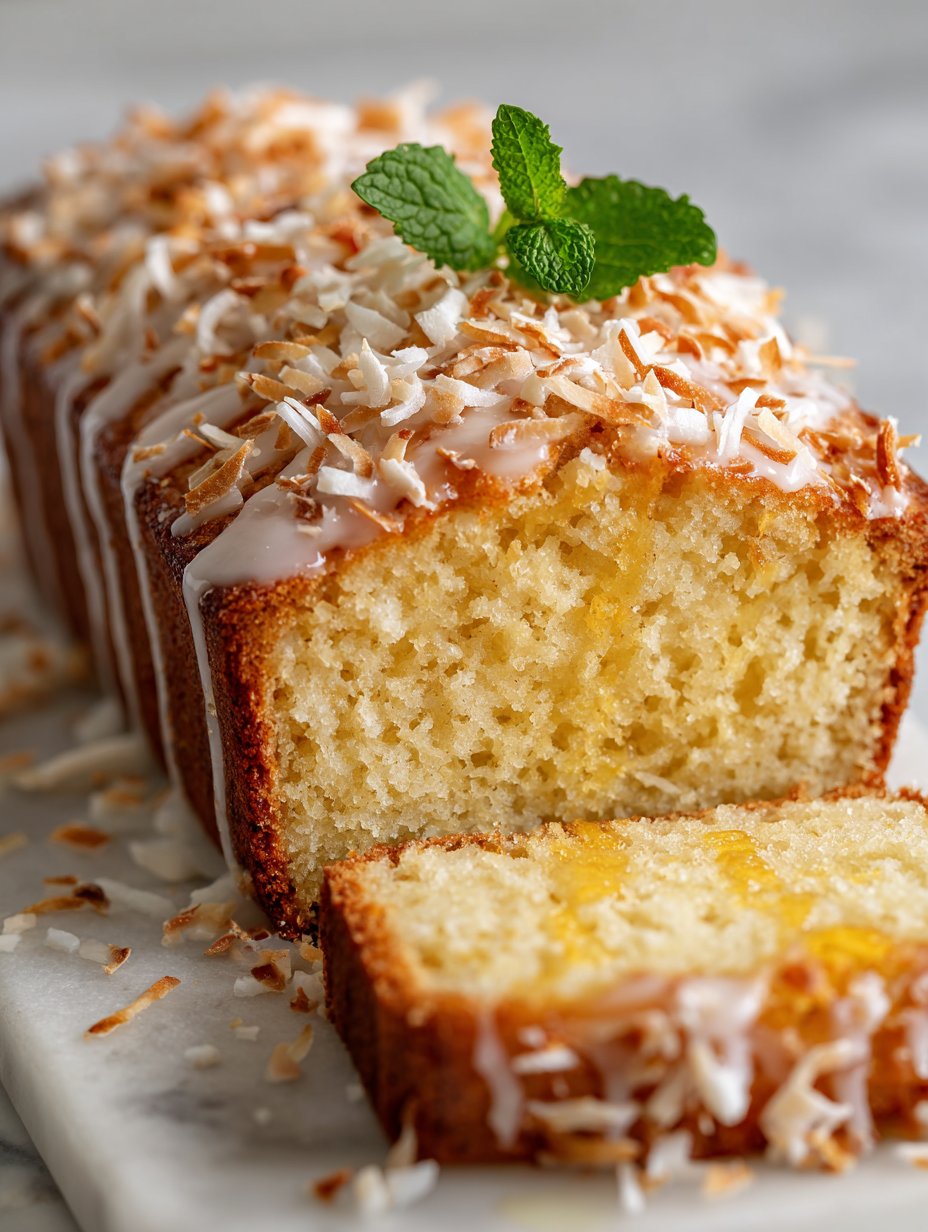
Focusing on the nostalgic charm of homemade coconut loaf cake, highlighting its comforting aroma and the memories it stirs of family kitchens and lazy weekend afternoons.
A Nostalgic Coconut Classic
- Baking this cake always brings a burst of nostalgia, reminding me of lazy afternoons in my childhood home.
- I love how the coconut’s toasted aroma fills the kitchen, turning simple baking into a warm, sensory experience.
- Sharing slices of this loaf with friends feels like passing on a little piece of my family’s history.
The story behind this recipe
- This cake was born out of a lazy weekend craving for something both nostalgic and a little indulgent. I remembered the coconut cakes my grandmother used to make—crisp edges, moist crumb, and that unmistakable toasted coconut aroma. It’s a simple recipe, but I love how it fills the house with a warm, inviting scent that makes everyone gather in the kitchen.
- One afternoon, I was experimenting with ways to intensify the coconut flavor and add a bit of chewiness to the crust. The result was a loaf that’s just a little more textured and deeply coconut-y than the usual. It’s become my go-to for cozy mornings and unexpected guests, a humble cake that somehow feels special every time.
- heading: ‘The story behind this recipe’
Coconut Loaf Cake Trivia
- Coconut loaf cakes have roots in Caribbean baking traditions, where coconut is abundant and cherished in desserts.
- Historical recipes from the early 20th century often used dried or shredded coconut, making this cake a nostalgic nod to vintage baking.
- The toasted coconut topping became popular in the 1950s, adding a crunchy, aromatic layer that elevates the simple loaf.
Ingredient Breakdown: Key Components
- Coconut: I love the sweet, chewy bits of shredded coconut that turn golden as they toast—look for unsweetened shredded coconut for a natural flavor, but if you want extra sweetness, a sprinkle of sweetened works too.
- Butter: The rich, melt-in-your-mouth butter makes the batter tender. Use good-quality unsalted butter; if you swap for coconut oil, expect a slightly different, more delicate coconut aroma.
- Flour: I prefer all-purpose, but for a lighter crumb, you can substitute part of it with cake flour. Sift well to avoid lumps and keep the cake airy.
- Sugar: White granulated sugar adds a clean sweetness, but brown sugar will give a deeper, caramel note—use sparingly to avoid overwhelming the coconut flavor.
- Eggs: They bind everything and keep the crumb moist. Room temperature eggs blend more evenly, so give them a quick warm-up if they’re cold from the fridge.
- Baking Powder: This is your leavening buddy. Double-check it’s fresh because old baking powder can deflate your cake’s rise, leaving it dense.
- Coconut Milk: Adds moisture and boosts coconut flavor. Full-fat coconut milk is best for richness; if you need a lighter version, a splash of almond milk can work, but it’s not quite the same.
Spotlight on Key Ingredients
Coconut:
- I love the chewy, slightly oily bits that toast to a deep amber, releasing a nutty aroma that fills the kitchen and makes you want to grab a handful.
- During baking, shredded coconut becomes toasty and fragrant, adding texture and a burst of coconut flavor with every bite.
Butter:
- The rich, melt-in-your-mouth quality of good butter makes the cake tender. When creamed, it creates a velvety base that holds everything together.
- During baking, it melts and helps develop a golden crust, while the aroma of melting butter mingling with coconut is pure comfort.
Notes for ingredient swaps
- Dairy-Free: Swap butter for coconut oil or vegan butter. It may alter the richness but keeps it dairy-free and adds a subtle coconut note.
- Sugar Alternatives: Use maple syrup or honey instead of sugar. Expect a moister crumb and a hint of caramel in flavor.
- Flour: Substitute half the all-purpose flour with almond or coconut flour for added nutty flavor and a gluten-free option. Adjust liquids accordingly.
- Coconut: Unsweetened shredded coconut can be replaced with sweetened shredded coconut for more sweetness and moisture. Toast it for extra aroma.
- Coconut Milk: Light coconut milk or even coconut cream can replace full-fat coconut milk. Thinner versions will make the batter lighter but less coconut-intense.
- Eggs: Flax eggs or chia seeds mixed with water can work as vegan substitutes, though the texture might be slightly denser.
- Add-ins: Toss in chopped nuts or dried fruits, like pineapple or mango, for extra texture and flavor complexity.
Equipment & Tools
- Loaf pan (9×5 inches): Holds the batter during baking and shapes the cake.
- Mixer (hand or stand): Creams butter and sugar, and beats eggs evenly.
- Sifter: Ensures dry ingredients are lump-free and light.
- Spatula: Folds in ingredients smoothly and levels the batter.
- Wire cooling rack: Allows air circulation to cool the cake evenly.
Step-by-step guide to coconut loaf
- Preheat your oven to 175°C (350°F). Grease a standard loaf pan (9×5 inches) with butter and dust lightly with flour or line with parchment paper. Gather your ingredients: shredded coconut, butter, sugar, eggs, flour, baking powder, and coconut milk.
- In a large bowl, cream together 115g (1/2 cup) softened butter and 150g (3/4 cup) sugar until pale and fluffy, about 3-4 minutes. Use a hand or stand mixer on medium speed. This step develops the base sweetness and lightens the batter.
- Add 2 eggs one at a time, beating well after each addition. Make sure eggs are at room temperature for smoother incorporation. Scrape down the sides of the bowl as needed.
- Stir in 1 teaspoon vanilla extract if using. Then, sift together 200g (1 1/3 cups) all-purpose flour and 1 teaspoon baking powder. Gradually fold dry ingredients into the creamed mixture, alternating with 120ml (1/2 cup) coconut milk. Mix until just combined; don’t overmix to keep it tender.
- Fold in 100g (about 1 cup) shredded coconut, which should be chewy and fragrant. Reserve a handful for topping if desired. The batter will be thick, with a slightly sticky, coconut-essence aroma.
- Pour the batter into the prepared loaf pan, smoothing the top with a spatula. Sprinkle the reserved coconut on top for a toasted finish. Bake on the middle rack for 50-60 minutes. The cake is done when the top is golden and a toothpick inserted in the center comes out clean.
- During baking, the coconut on top should turn a deep golden brown, and your kitchen will fill with a warm, toasted coconut smell. If the crust darkens too quickly, loosely tent with foil after 40 minutes. If the cake sinks in the center, it might be underbaked—give it a few more minutes.
- Once baked, remove the cake and let it rest in the pan for 10 minutes. Then, transfer to a wire rack and cool completely before slicing. Resting allows the crumb to set, avoiding crumbling.
- For serving, slice when fully cooled. The loaf should be moist, with a slight chew from the toasted coconut and a tender crumb. The aroma will be rich and sweet—perfect for pairing with tea or coffee.
Let the cake cool in the pan for 10 minutes, then transfer to a wire rack to cool completely. Slice with a serrated knife for clean edges. Serve plain or with a dusting of powdered sugar for a simple finish.
How to Know It’s Done
- The top is deeply golden and toasted.
- A toothpick inserted in the center comes out clean.
- The cake feels springy but not wet when gently pressed.
Nostalgic Coconut Loaf Cake
Ingredients
Equipment
Method
- Preheat your oven to 175°C (350°F). Grease your loaf pan and set aside.
- In a small bowl, toast the shredded coconut in the oven or a dry skillet until golden and fragrant, about 5-7 minutes. Set aside to cool.
- In a large mixing bowl, cream the softened butter and sugar together using a mixer on medium speed until pale and fluffy, about 3-4 minutes. This develops a light base for your batter.
- Add eggs one at a time, beating well after each addition. Ensure eggs are at room temperature for smooth incorporation.
- Mix in the vanilla extract if using, then sift together the flour and baking powder. Gradually fold the dry ingredients into the wet mixture, alternating with the coconut milk, until just combined. Be gentle to keep the batter airy.
- Gently fold in the toasted shredded coconut, distributing it evenly throughout the batter. The mixture should be thick and fragrant with coconut aroma.
- Pour the batter into the prepared loaf pan, smoothing the top with a spatula. Sprinkle a handful of toasted shredded coconut on top for added crunch.
- Bake in the preheated oven for 50-60 minutes, or until the top is deeply golden and a toothpick inserted in the center comes out clean. Cover loosely with foil after 40 minutes if the coconut begins to brown too quickly.
- Remove the cake from the oven and let it cool in the pan for about 10 minutes. Then transfer it to a wire rack and cool completely before slicing.
- Once cooled, slice the loaf with a serrated knife. The cake should be moist, with a chewy coconut texture and a golden crust, ready to enjoy with tea or coffee.
Notes
Pro tips for perfect coconut loaf
- Bolded Mini-Head: Toast the coconut for extra aroma—spread on a baking sheet at 175°C (350°F) for 5-7 minutes until golden and fragrant.
- Bolded Mini-Head: Cream butter and sugar thoroughly—about 3-4 minutes until light and fluffy for a tender crumb.
- Bolded Mini-Head: Fold ingredients gently—avoid overmixing to keep the batter airy and prevent a dense cake.
- Bolded Mini-Head: Check for doneness—top should be deep golden, and a toothpick inserted in the center should come out clean.
- Bolded Mini-Head: Use room temperature eggs—this helps the batter emulsify smoothly, resulting in an even rise.
- Bolded Mini-Head: Rest the baked cake—cool in the pan for 10 minutes, then transfer to a rack to prevent crumbling.
- Bolded Mini-Head: Keep an eye on the coconut topping—cover loosely with foil after 40 minutes to prevent over-browning.
Common coconut loaf baking mistakes
- FORGOT to check oven temperature → Use an oven thermometer for accuracy.
- DUMPED in too much coconut → Measure carefully to avoid overpowering the batter.
- OVER-TORCHED coconut topping → Cover loosely with foil after 40 minutes if browning too fast.
- MISSED resting time → Let the cake cool fully before slicing to prevent crumbling.
Quick fixes and pantry swaps
- When coconut burns quickly, splash a little water on it to cool and reduce charring.
- If the loaf cracks during baking, patch it with a dab of batter and lower oven temperature slightly.
- Dusted coconut won’t toast evenly—rescue by tossing it in a hot pan for a quick finish.
- Overbaked crust? Shield it with foil after 45 minutes to prevent excessive darkening.
- Missing a quick rescue? Slice when fully cooled to avoid crumbling and get clean edges.
Prep, store, and reheat tips
- You can toast the shredded coconut a day ahead; store in an airtight container to keep it crisp and fragrant.
- Baked cake keeps well at room temperature for up to 2 days, wrapped in plastic or in an airtight container to retain moisture.
- For longer storage, wrap the cooled cake tightly and freeze for up to 1 month. Thaw at room temperature before slicing.
- Reheat slices gently in a low oven (about 150°C/300°F) for 5-8 minutes until warm and aromatic, with a slightly crisp crust restored.
Top questions about coconut loaf cake
1. Can I use dried coconut instead of fresh shredded?
Use fresh shredded coconut for the best chewy texture and aroma. Dried or old coconut can make the cake dry or bland.
2. Can I substitute coconut milk with regular milk?
Yes, you can swap coconut milk with almond milk or regular milk, but expect a less intense coconut flavor and slightly different moistness.
3. How do I know when the cake is baked perfectly?
Ensure your oven is properly preheated and don’t open the door early. The cake is done when it’s deeply golden and a toothpick comes out clean.
4. How do I toast coconut for topping?
To toast coconut, spread it on a baking sheet at 175°C (350°F) for 5-7 minutes until fragrant and golden. Keep an eye to prevent burning.
5. How should I store leftovers?
Store the cooled cake in an airtight container at room temperature for up to 2 days, or freeze for longer storage. Reheat slices at 150°C (300°F) for 5-8 minutes.
6. What’s a good dairy-free substitute for butter?
You can replace butter with coconut oil or vegan butter for dairy-free options. Expect a slightly different richness and aroma, but it still turns out moist and tasty.
7. How do I prevent the cake from becoming dense?
Overmixing the batter can make the cake dense. Fold ingredients gently and stop mixing as soon as everything is combined.
8. What if the coconut topping burns?
If the coconut topping starts to over-brown, loosely cover the top with foil after 40 minutes to prevent burning while the cake finishes baking.
9. Can I use cold eggs?
Use room temperature eggs for a smoother batter and better rise. Cold eggs can cause the batter to curdle or not incorporate well.
10. Should I let the cake cool before slicing?
Allow the cake to cool completely before slicing. Warm cake is fragile and may crumble, while cooled cakes slice cleanly with a serrated knife.
Baking this coconut loaf cake is like capturing a little bit of summer in every slice, with its toasted aroma and chewy coconut bits. It’s a humble treat that somehow feels a bit special, especially when shared with someone who appreciates simple, honest baking.
In times like these, when comfort food feels more vital than ever, this cake offers a cozy, nostalgic moment. It’s not just about the coconut or the crumb—it’s about those quiet, satisfying moments in the kitchen that make everything feel just a little more manageable.

Hi, I’m Charlotte Hayes, the creator and storyteller behind Lost in the Aroma. If you’ve ever closed your eyes while something simmered on the stove just to take in the scent, then you already understand what this space is about. For me, aroma is memory. It is emotion. It is the first sign that something beautiful is about to be shared. Lost in the Aroma is where I bring together recipes, sensory storytelling, and my lifelong love for food. I am so glad you’re here.


Leave a Reply