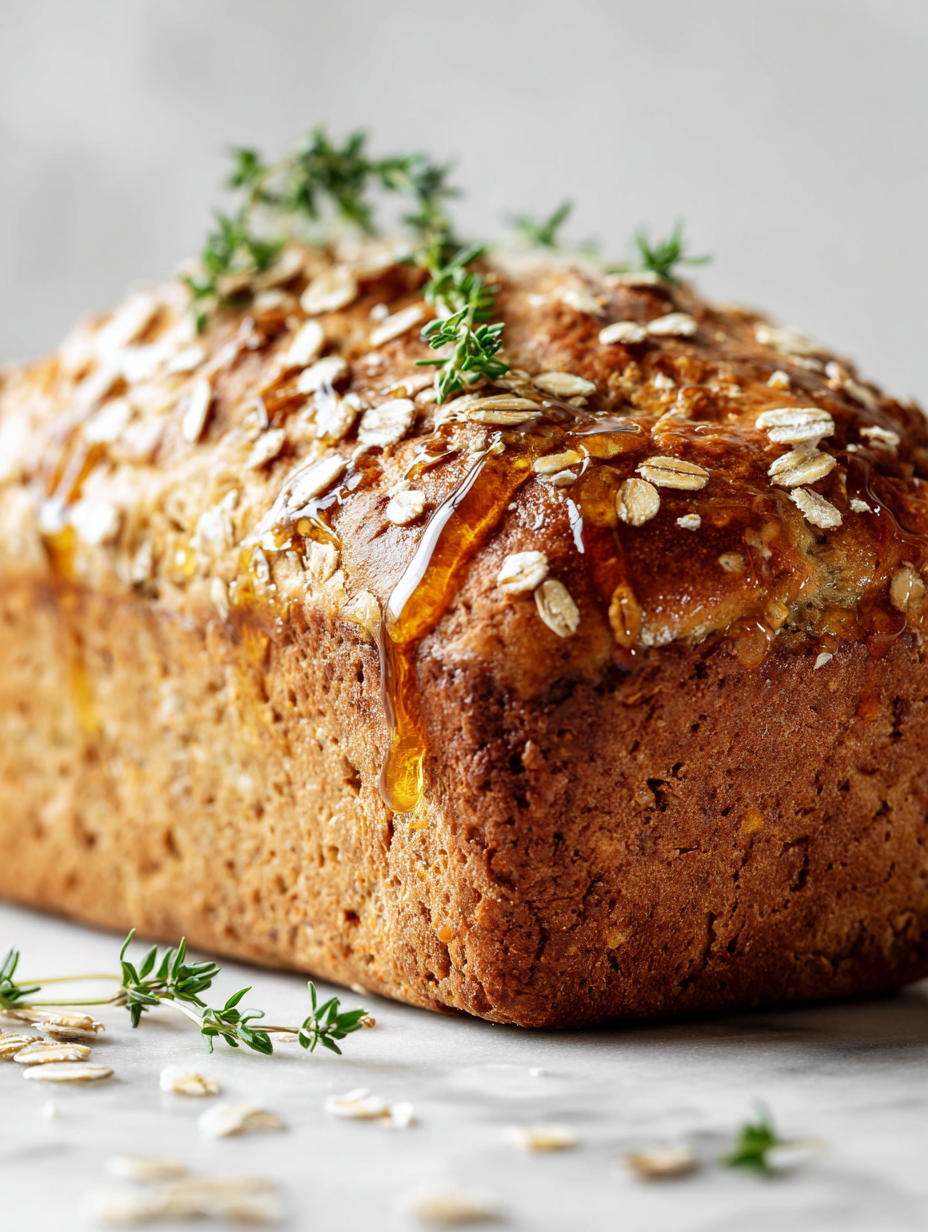
This Honey Oat Bread is a quiet revelation in my baking routine. It’s deceptively simple—just honey, oats, and bread flour—but those few ingredients come together to evoke a warm childhood memory of mornings spent at my grandma’s kitchen table. The aroma of toasty oats mingling with honey’s sweet, floral scent is enough to make you pause and breathe it all in.
What surprises me most is how the modest ingredients can create such a complex flavor profile. The honey lends a gentle sweetness that’s not cloying, while the oats add a nutty, hearty texture that makes every slice feel special. It’s a bread that feels both nostalgic and sophisticated, perfect for slow mornings or cozy afternoons, when you want something familiar but elevated.
Focusing on the unexpected simplicity of using only honey and oats to transform a humble loaf into a nostalgic yet sophisticated treat, highlighting how small ingredient choices can evoke childhood memories and create complex flavors.
Nostalgic Baking with a Simple Twist
- Baking this bread always brings a quiet moment of satisfaction, knowing how simple ingredients can turn into something special.
- There’s a nostalgic rush when I smell the toasty oats and honey melting into the dough—like childhood mornings revisited in my kitchen.
- I love how this bread pairs perfectly with just butter or a smear of jam—no fuss, just honest, wholesome flavors.
- Every time I bake it, I feel a little proud of how humble ingredients come together to create something both comforting and elegant.
- This recipe reminds me that sometimes, the simplest breads carry the most soul, especially when shared with someone you love.
Nostalgic Baking with a Simple Twist
Baking this honey oat bread started from a desire to create something that feels both nourishing and a little special, without fuss. I remember the first time I toasted oats in a skillet, the smell of nutty warmth filling the kitchen, and thinking how that simple step could add such depth to bread. It’s become a go-to for mornings when I want comfort, but with a little twist that makes it feel like a treat. There’s something about the combination of honey and oats that evokes memories of lazy weekend breakfasts and the quiet joy of baking bread from scratch.
Contextual origin, trivia, or history
- Honey oat bread has roots in rustic European baking, where oats were a hearty, accessible grain for rural communities.
- Historically, oats were used in bread to stretch flour supplies and add nutrition, especially in colder climates like Scandinavia and the British Isles.
- The combination of honey and oats became popular in American baking during the early 20th century, as honey was a common sweetener before refined sugar became widespread.
- Oats are naturally gluten-free, but when used in bread like this, they’re typically ground or rolled to create a more cohesive dough.
- In some cultures, oat bread was traditionally baked in communal ovens, often with a honey glaze for added sweetness and preservation.
Ingredient breakdown: key components
- Honey: I love how honey adds a gentle floral sweetness and keeps the bread moist. If you want a milder flavor, try maple syrup instead—just reduce the liquid slightly.
- Oats: I toast my oats lightly before mixing—they develop a warm, nutty aroma that really boosts the flavor. Skip this step if you’re in a rush, but it makes a difference.
- Bread flour: The gluten in bread flour gives this loaf its structure and chew. For a softer crumb, use a blend of bread and all-purpose flour.
- Yeast: I prefer active dry yeast; it’s reliable and easy to work with. If your yeast is old or inactive, your bread might not rise well—proof it first to be sure.
- Salt: It’s essential for flavor, but I keep it moderate so the honey’s sweetness can shine. Too much salt can overshadow the delicate balance.
- Water: I warm it just enough to activate the yeast—about 37°C (98.6°F). If it’s too hot, it kills the yeast; too cold, the dough takes longer to rise.
- Additional oats for topping: A handful sprinkled on top before baking adds a toasty crunch and visual appeal. Feel free to skip or swap with seeds for variation.
Spotlight on key ingredients
Honey:
- I love how honey adds a gentle floral sweetness and keeps the bread moist. If you want a milder flavor, try maple syrup instead—just reduce the liquid slightly.
- Oats: I toast my oats lightly before mixing—they develop a warm, nutty aroma that really boosts the flavor. Skip this step if you’re in a rush, but it makes a difference.
Oats:
- The toasted oats bring a toasty, nutty aroma and a hearty texture that makes each slice feel cozy. You can use quick oats for a softer crumb, but toasted rolled oats give more flavor.
- Honey oat bread gets its distinctive aroma from the oats and honey. The oats tend to absorb moisture, so adjusting water slightly can help if the dough feels dry.
Notes for ingredient swaps
- Honey: I prefer raw, floral honey for a richer aroma. Maple syrup can be a milder, darker alternative with a hint of caramel.
- Oats: Use quick oats if you’re short on time, but they’ll give a softer, less toasted flavor. Steel-cut oats are too hearty and need longer cooking.
- Bread flour: For a softer crumb, mix half bread flour with all-purpose flour. Whole wheat flour adds nuttiness but can make the loaf denser.
- Yeast: Active dry yeast works reliably, but instant yeast can be mixed directly into dry ingredients. Fresh yeast is fine if you keep it refrigerated and use within a week.
- Salt: Fine sea salt is my go-to. If you only have coarse salt, reduce the amount slightly to avoid overpowering the sweetness.
- Water: Use filtered or spring water for purity. If you want a slightly sweeter flavor, replace some water with milk or buttermilk.
- Topping oats: Sprinkle a handful of rolled oats or seeds like sunflower or flax on top before baking for crunch and visual appeal. Seeds add extra flavor and nutrition.
Equipment & Tools
- Mixing bowl: To combine and knead the dough.
- Dough scraper: For handling sticky dough and shaping.
- Kitchen towel or plastic wrap: To cover dough during proofing and keep moisture in.
- Baking sheet or loaf pan: To bake the bread evenly.
- Pastry brush: To apply glaze or water for crust shine.
Step-by-step guide to Honey Oat Bread
- Equipment & Tools: Gather a large mixing bowl (for dough), a dough scraper (for handling sticky dough), a kitchen towel or plastic wrap (for proofing), a baking sheet or loaf pan (for baking), and a brush (for glazing if desired).
- Activate yeast: Warm 1 cup of water to about 37°C (98.6°F). Dissolve 2 teaspoons of active dry yeast in it. Let sit for 5-8 minutes until frothy. If not frothy, discard and start over with fresh yeast.
- Mix dry ingredients: In the large bowl, combine 3 cups bread flour, 1 cup rolled oats (lightly toasted if you like), 2 tablespoons honey, and 1 teaspoon salt. Stir well to distribute evenly.
- Add wet ingredients: Pour in the activated yeast mixture and an additional 1/2 cup water (adjust as needed). Mix with a spoon or scraper until a sticky, shaggy dough forms. It should be slightly tacky but manageable.
- Knead the dough: Turn onto a floured surface or knead directly in the bowl. Knead for about 8-10 minutes until the dough is smooth and elastic. If it sticks excessively, sprinkle with a little more flour, but keep it fairly moist.
- First proof: Shape into a ball, place in the bowl, and cover with a damp towel or plastic wrap. Let rise in a warm spot (~24°C/75°F) for about 1 to 1.5 hours, or until doubled in size. You’ll notice the dough feels puffy and has expanded noticeably.
- Shape the loaf: Gently punch down the dough, turn it out onto a floured surface, and shape into a tight oval or rectangular loaf. Place on your prepared baking sheet or into the loaf pan.
- Second proof: Cover again and let rise for another 30-45 minutes until it looks puffy and has risen about 50%. If you press lightly with a finger, the indentation should slowly spring back.
- Preheat oven: While the dough proofs, heat your oven to 200°C (390°F). Place a baking stone or an empty tray on the middle rack if using for a crisper crust.
- Bake: Optionally, brush the top with a little honey-water mixture for a shiny glaze. Slide the bread into the oven. Bake for 30-35 minutes, until the crust is golden brown and sounds hollow when tapped.
- Check doneness: For the final test, tap the bottom of the loaf—if it sounds hollow, it’s done. The internal temp should be around 96°C (205°F).
- Cooling & finishing: Remove from oven and let cool on a wire rack for at least 20 minutes before slicing. This helps set the crumb and prevents gummy texture.
Allow the bread to cool on a wire rack for at least 20 minutes. This helps the crumb set properly. Slice with a serrated knife to prevent squashing the soft interior and enjoy with butter or your favorite spread.
How to Know It’s Done
- Dough doubles in size during proofing, feels puffy and soft.
- Crust is golden and firm, with a slight sheen if glazed.
- Internal temperature reaches about 96°C (205°F) for perfect doneness.
Honey Oat Bread
Ingredients
Equipment
Method
- Warm a cup of water to about 37°C (98.6°F), then sprinkle in the yeast and gently stir. Let sit for 5-8 minutes until it becomes frothy and bubbly, signaling that the yeast is activated.
- While the yeast activates, lightly toast the rolled oats in a dry skillet until fragrant and golden, about 3-4 minutes. This step boosts their nutty aroma and flavor.
- In a large mixing bowl, combine the bread flour, toasted oats, salt, and honey. Mix well to evenly distribute all the dry ingredients.
- Pour the activated yeast mixture into the dry ingredients. Add half a cup of water and stir with a spoon or scraper until a shaggy, slightly sticky dough forms.
- Knead the dough on a floured surface or in the bowl for about 8-10 minutes until it becomes smooth, elastic, and slightly tacky to the touch. Add small amounts of flour if necessary, but keep it moist.
- Shape the dough into a ball, then place it in a lightly oiled bowl. Cover with a damp towel or plastic wrap and let rise in a warm spot for 1 to 1.5 hours, until doubled in size and puffy.
- Gently punch down the risen dough to deflate it, then turn it out onto a floured surface. Shape into a loaf that fits your baking sheet or loaf pan.
- Place the shaped dough onto your prepared baking sheet or into the loaf pan. Cover again and let rise for another 30-45 minutes until it puffs up and has risen about 50%.
- Preheat your oven to 200°C (390°F). Just before baking, brush the top of the loaf with a little honey-water mixture for a shiny crust. Sprinkle with oats or seeds for added texture and visual appeal.
- Bake the bread in the preheated oven for 30-35 minutes until the crust is deep golden and sounds hollow when tapped. The aroma of baked oats and honey will fill your kitchen.
- Remove the bread from the oven and transfer it to a wire rack. Let it cool for at least 20 minutes before slicing to allow the crumb to set and prevent squishing.
Pro Tips for Perfect Honey Oat Bread
- Use a mixing bowl with a wide opening to handle sticky dough easily.
- Toast oats lightly before mixing to develop a warm, nutty aroma that enhances flavor.
- Keep the dough slightly tacky—adding too much flour can make the bread dense and dry.
- Proof the dough until it doubles in size; a puffy, soft texture indicates readiness.
- For a shiny crust, brush the loaf with honey-water mixture just before baking begins.
- Bake until the crust is deep golden and the loaf sounds hollow when tapped on the bottom.
- Cool on a wire rack for at least 20 minutes to allow the crumb to set perfectly.
Common mistakes and how to fix them
- FORGOT to proof dough properly? Extend proofing time or check dough doubling.
- DUMPED in too much flour? Use less next time to keep dough moist and manageable.
- OVER-TORCHED the crust? Cover bread mid-bake or reduce oven temperature slightly.
- UNDER-baked loaf? Bake 5-10 minutes longer, check internal temp for 96°C (205°F).
Quick fixes and pantry swaps
- If bread looks pale, increase baking time by 5 minutes until golden.
- When dough is sticky, dust lightly with flour before shaping.
- Splash a little water in oven for steam, creating a crisper crust.
- Patch a cracked loaf by gently pressing edges back together and baking a few extra minutes.
- Shield top with foil if crust browns too quickly during baking.
Prep, store, and reheat tips
- You can prepare the dough up to the second proof in advance; refrigerate tightly wrapped for up to 24 hours, which slows fermentation and develops flavor.
- Store baked bread in a paper bag or bread box at room temperature for 2-3 days. For longer storage, wrap in plastic and freeze for up to 3 months. Reheat slices in a warm oven until just toasted and fragrant, about 5 minutes.
- Refrigeration can dry out the bread; to revive, briefly warm in a 180°C (350°F) oven until the crust feels lively again and the aroma returns.
- If the crust feels a little soft after storage, a quick 3-5 minute bake at 200°C (390°F) can restore crunch and aroma, with a toasty smell signaling readiness.
Top questions about Honey Oat Bread
1. How do I know when the bread is done?
Look for bread that sounds hollow when tapped on the bottom, with a deep golden crust. Internal temp should be about 96°C (205°F).
2. Can I use instant yeast instead?
Use fresh, active dry yeast and proof it in warm water first. If it bubbles and froths, it’s ready to go.
3. Can I replace honey with another sweetener?
Yes, you can substitute maple syrup or agave for honey, but expect a slightly different flavor and moisture level.
4. Should I toast the oats first?
Toast your oats lightly before mixing for a nutty aroma. Skip if you’re in a rush, but it adds depth.
5. How should I store leftover bread?
Store bread in a paper bag or bread box for 2-3 days. For longer, freeze wrapped slices for up to 3 months.
6. How do I reheat leftover bread?
Reheat slices in a warm oven at 180°C (350°F) until fragrant, about 5 minutes. It restores freshness and crust crunch.
7. What if my crust is too dark or pale?
If the crust is too pale, bake it a few extra minutes. For over-browning, shield with foil to prevent burning.
8. How should I slice the bread?
Use a serrated knife to slice gently; this avoids squashing the soft crumb and keeps slices neat.
9. How sticky should the dough be?
Mix dough slightly sticky; avoid adding too much flour, which can make the bread dense and dry.
10. How long should I proof the dough?
Let the dough double in size during proofing; it’s a good sign it’s ready for shaping and baking.
Baking this honey oat bread is a small act of kindness, filling the kitchen with a warm, toasty aroma that beckons everyone in. It’s a loaf that feels both familiar and a bit special, perfect for those quiet mornings or when you need a simple, satisfying treat.
There’s a certain joy in watching the crust turn a deep, inviting gold and knowing that each slice carries a bit of your effort and care. It’s a humble bread, but one that’s worth every crumb, especially when shared over a spread of good butter or jam.

Hi, I’m Charlotte Hayes, the creator and storyteller behind Lost in the Aroma. If you’ve ever closed your eyes while something simmered on the stove just to take in the scent, then you already understand what this space is about. For me, aroma is memory. It is emotion. It is the first sign that something beautiful is about to be shared. Lost in the Aroma is where I bring together recipes, sensory storytelling, and my lifelong love for food. I am so glad you’re here.


Leave a Reply